
Documentation
Trustant is a Private AI workbench. You describe the application you want, an AI coding assistant writes it, and you test it on your PC.
When it is ready, you publish it to a server you control.
This page follows one real application, a chat called truchat, from the first download to its own address on the server.
The screens come from a Trustant Developer subscription, at €99 a year. It includes the desktop installer, the server package and updates. The free Community edition has the same source code, and you build it yourself.
Download Trustant Desktop
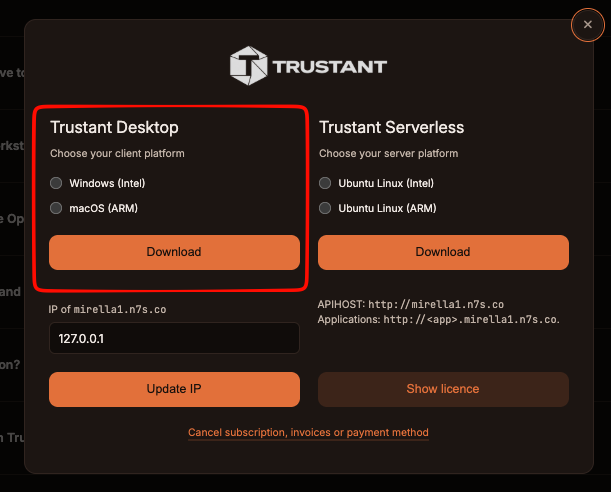
Your download page has two columns. The left one is Trustant, the desktop application, for Windows on Intel or macOS on ARM. Choose your system and click Download.
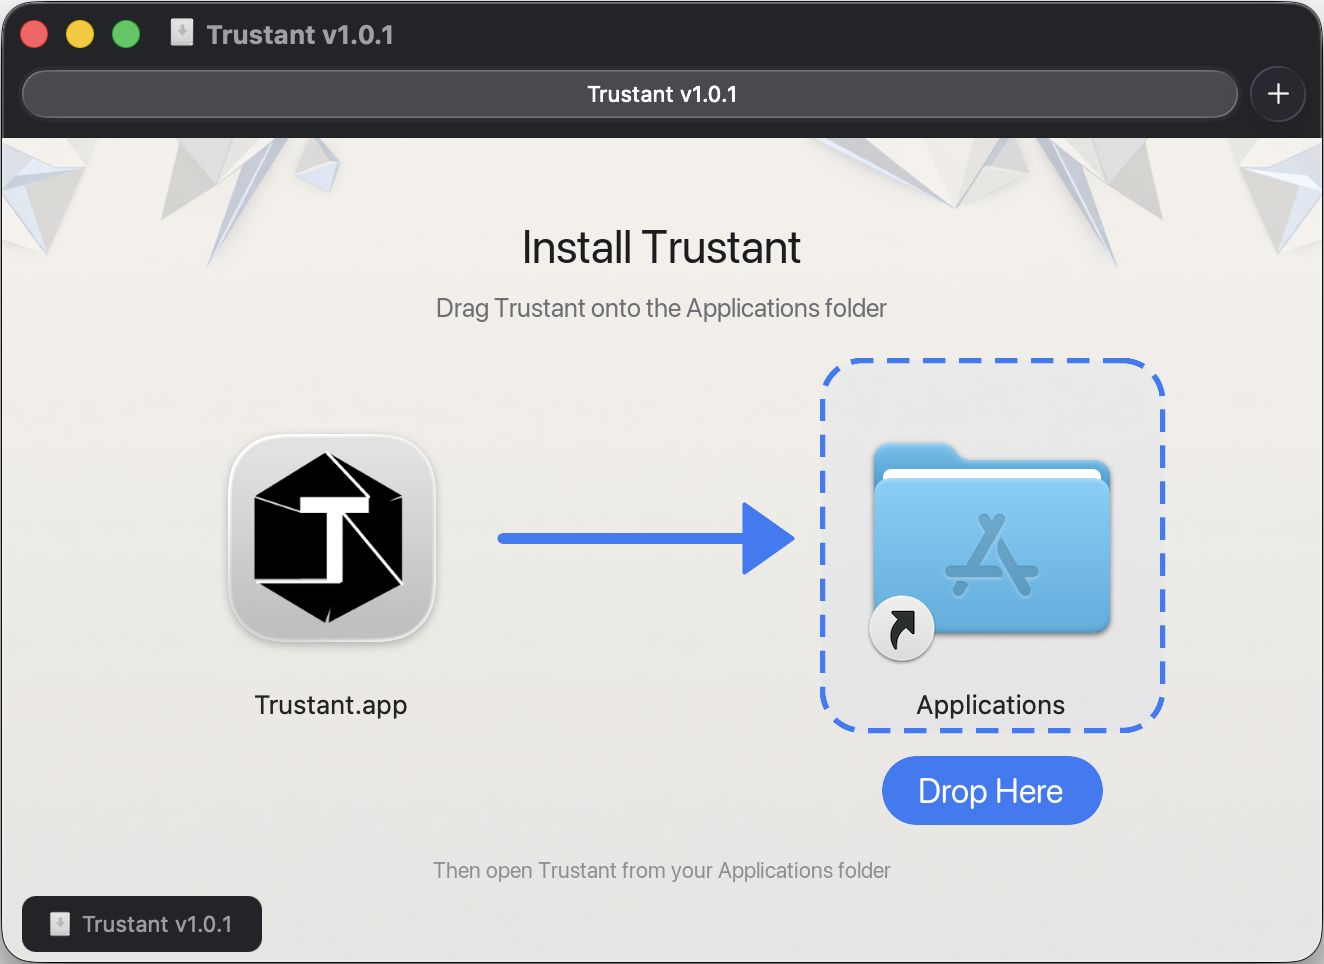
On macOS, open the disk image and drag Trustant onto the Applications folder. Then open it from there.
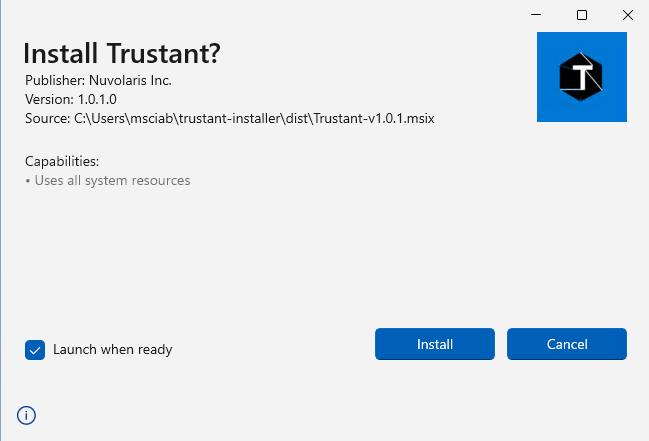
Choose your AI
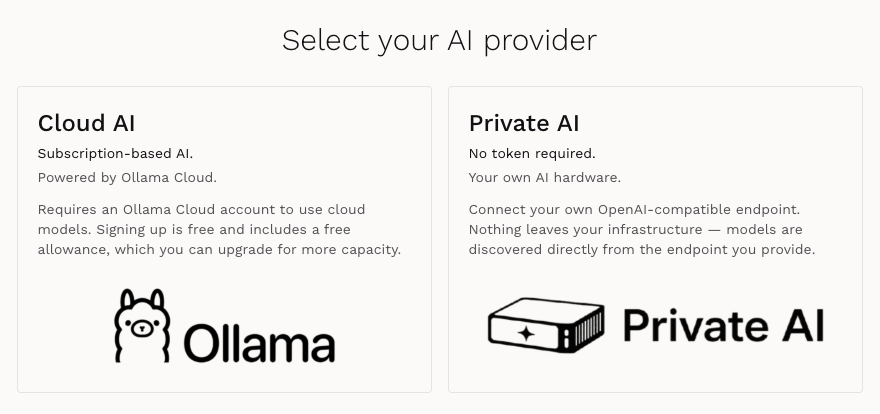
The first time you open Trustant, you select the AI that powers the assistant. There are two choices, and the difference is where the model runs:
-
Cloud AI if you do not have a GPU we offer access to a no retention cloud-based service (Ollama Cloud) running Open Models you can mode onsite, with a subscription model.
-
Local AI you can use any OpenAI-compatible endpoint (like a local Ollama) that you run yourself. Nothing leaves your infrastructure.
You can change the selection any time. See Setup for the details.
Create an application
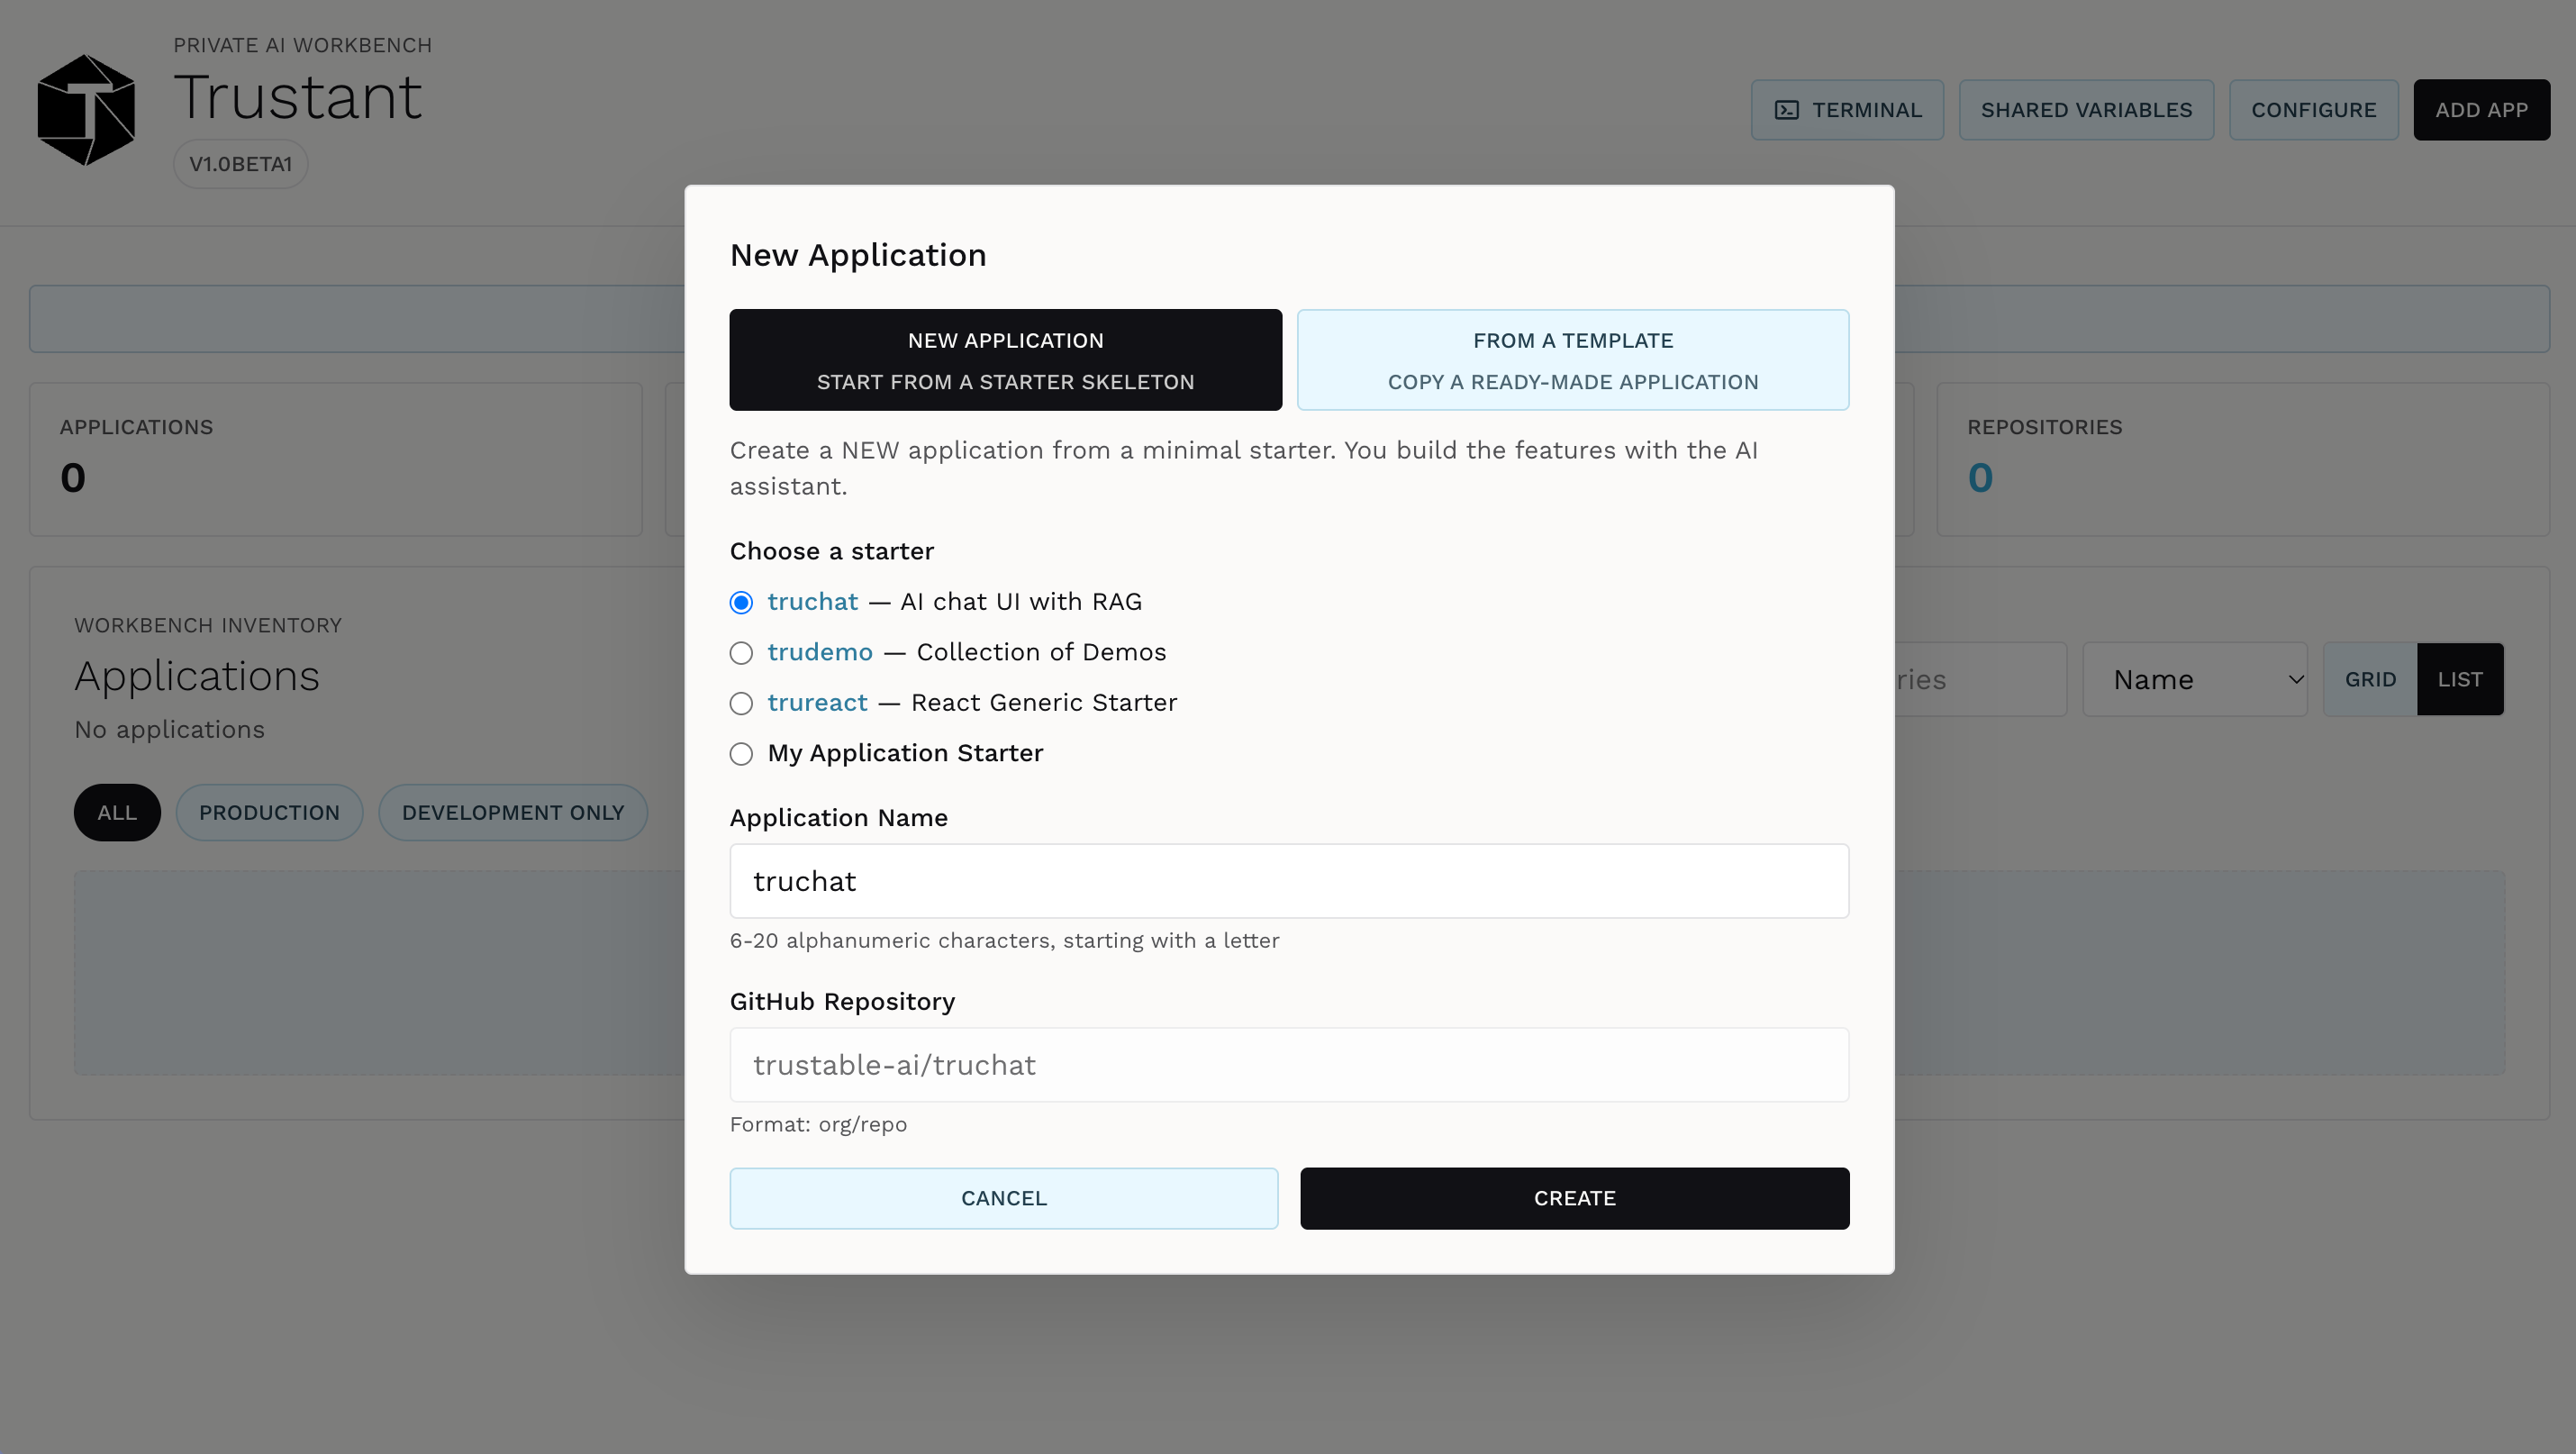
Click ADD APP. You can start from a minimal starter and build the features with the assistant, or copy a ready-made application from a template.
The starters are truchat, an AI chat with RAG, and trureact, a generic React starter. You can also use a starter of your own.
Choose one, give the application a name, enter its GitHub repository and click CREATE.
Build by describing
The application opens in two panes. On the left is the coding agent. On the right is your application, already running.
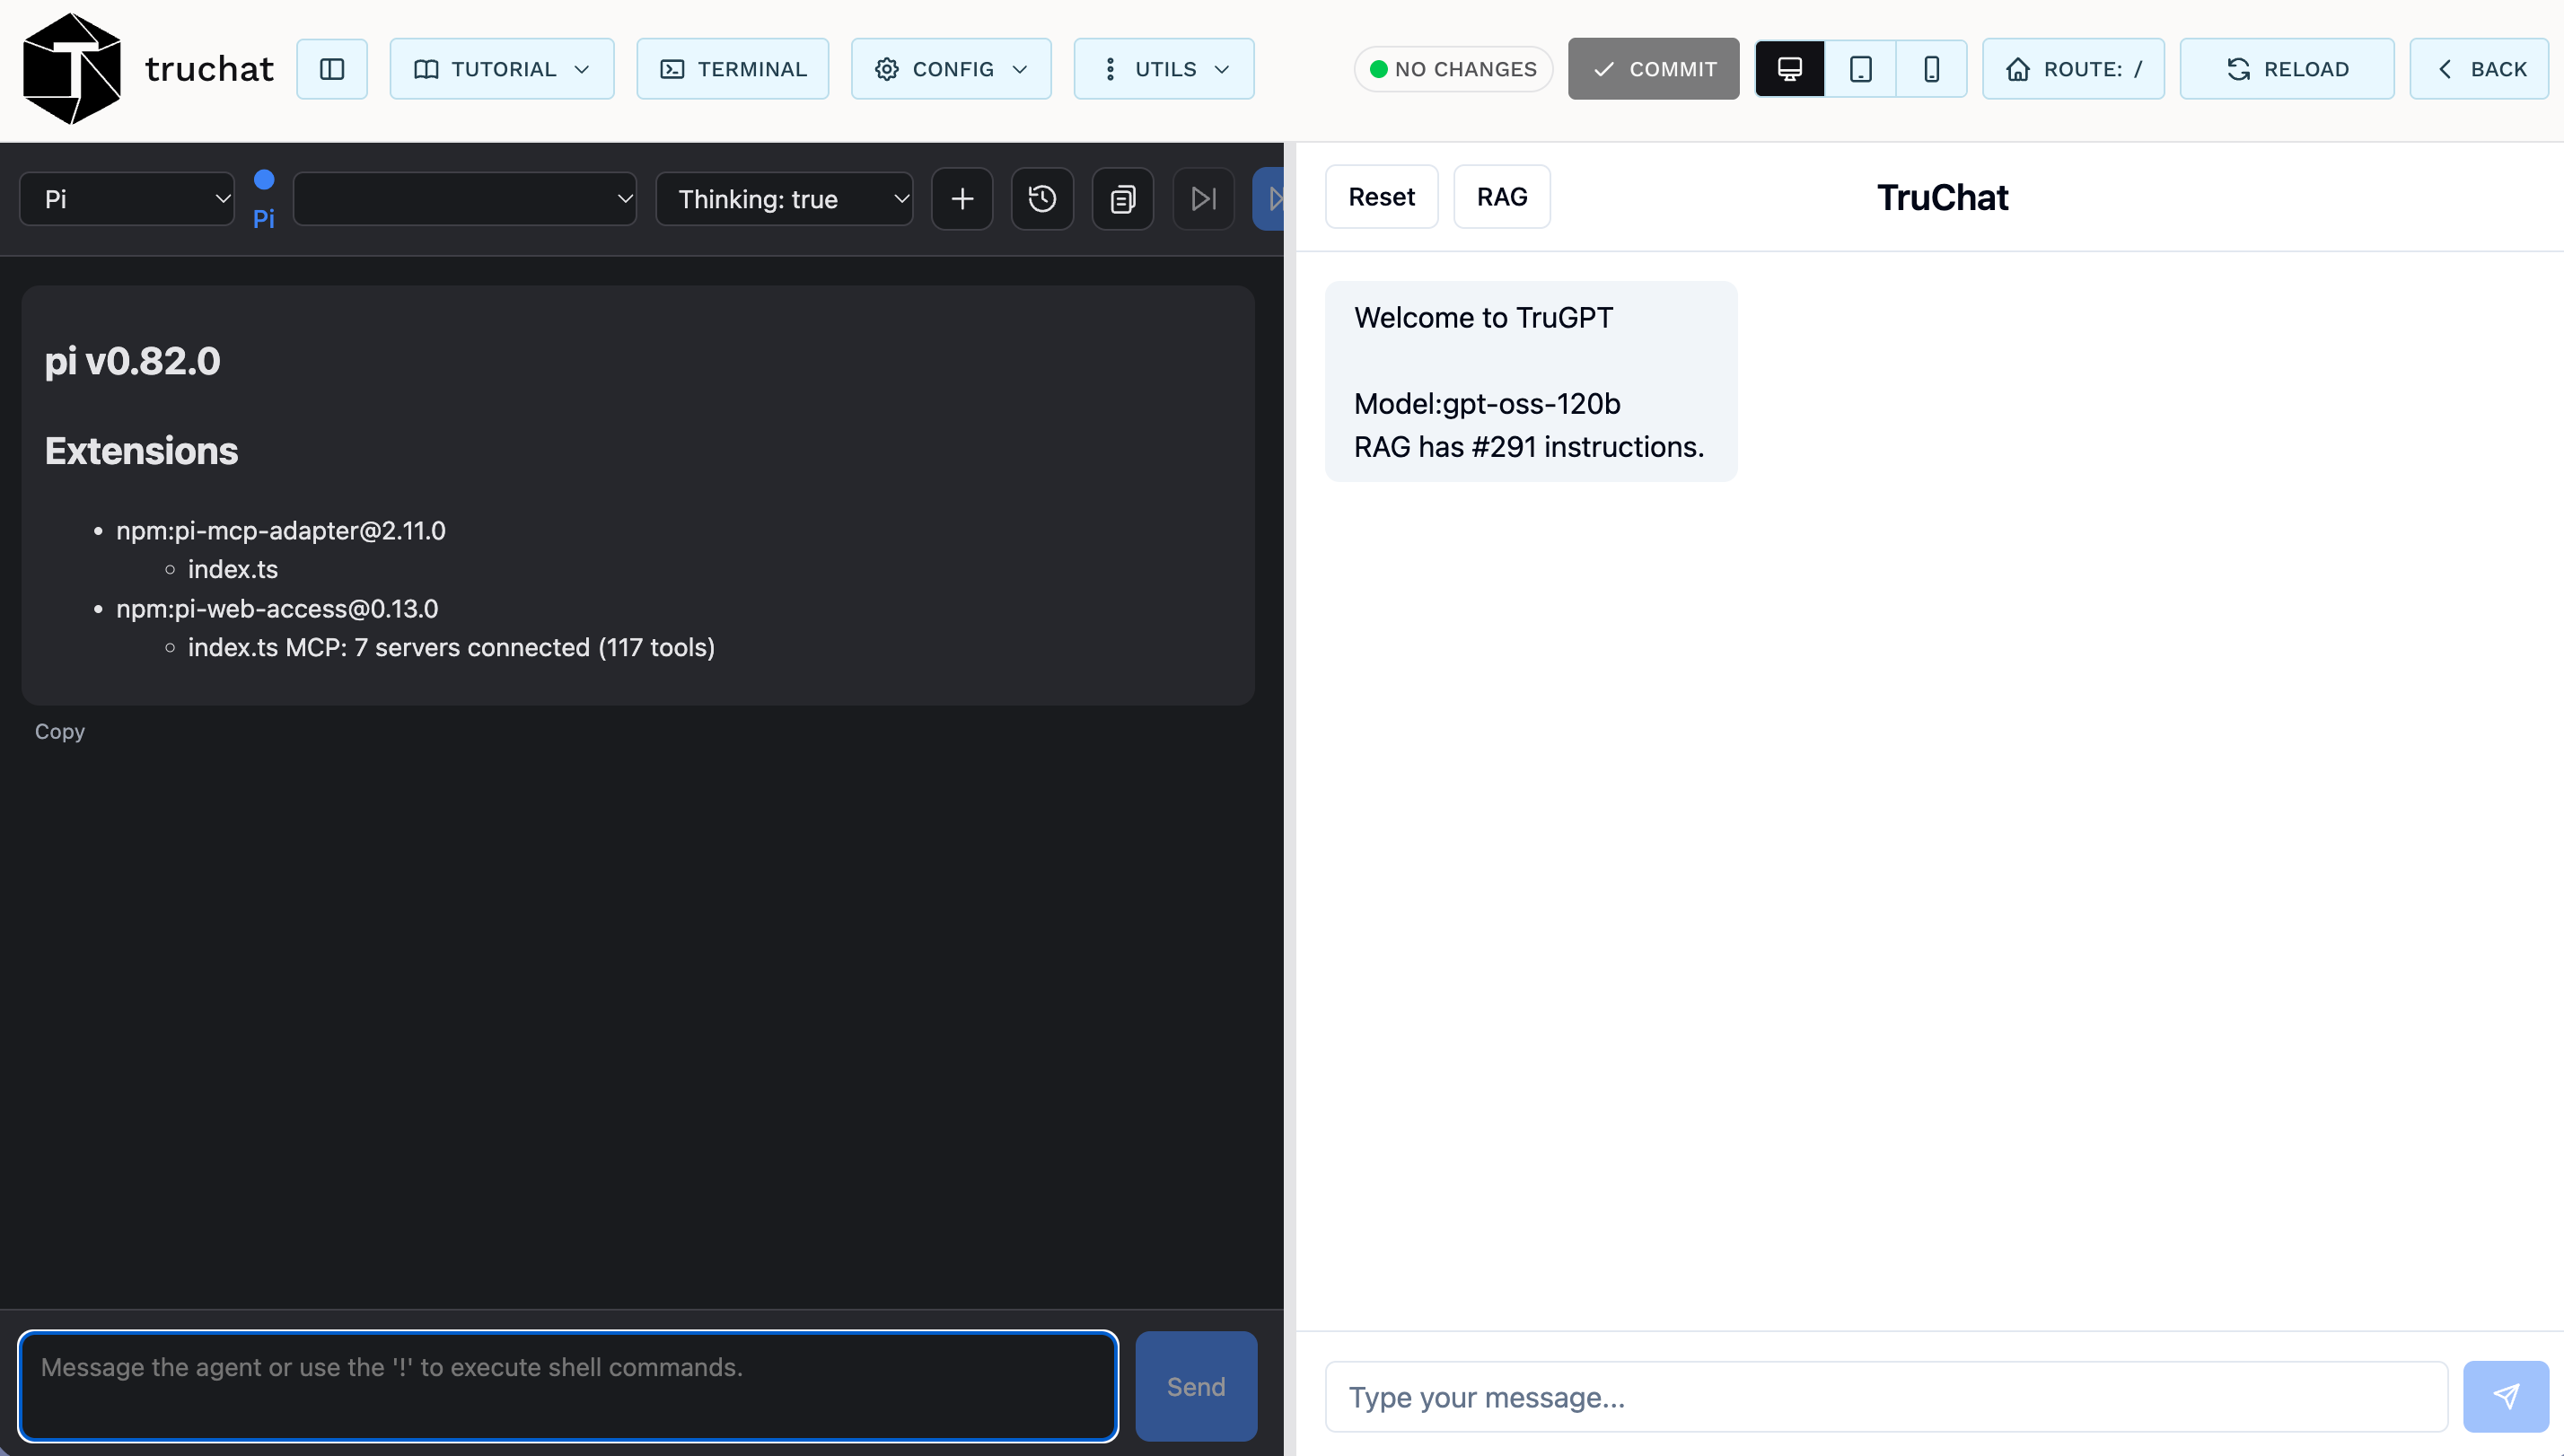
Now ask for what you want, in plain language. Here we ask the agent to change a name: “change the text from Trustable to Trustant”.
The agent finds where the text lives and changes it. It deploys the result, checks it, and reports what it did and what it left alone.

Then test it yourself, in the preview on the right. The chat now answers with the new name.
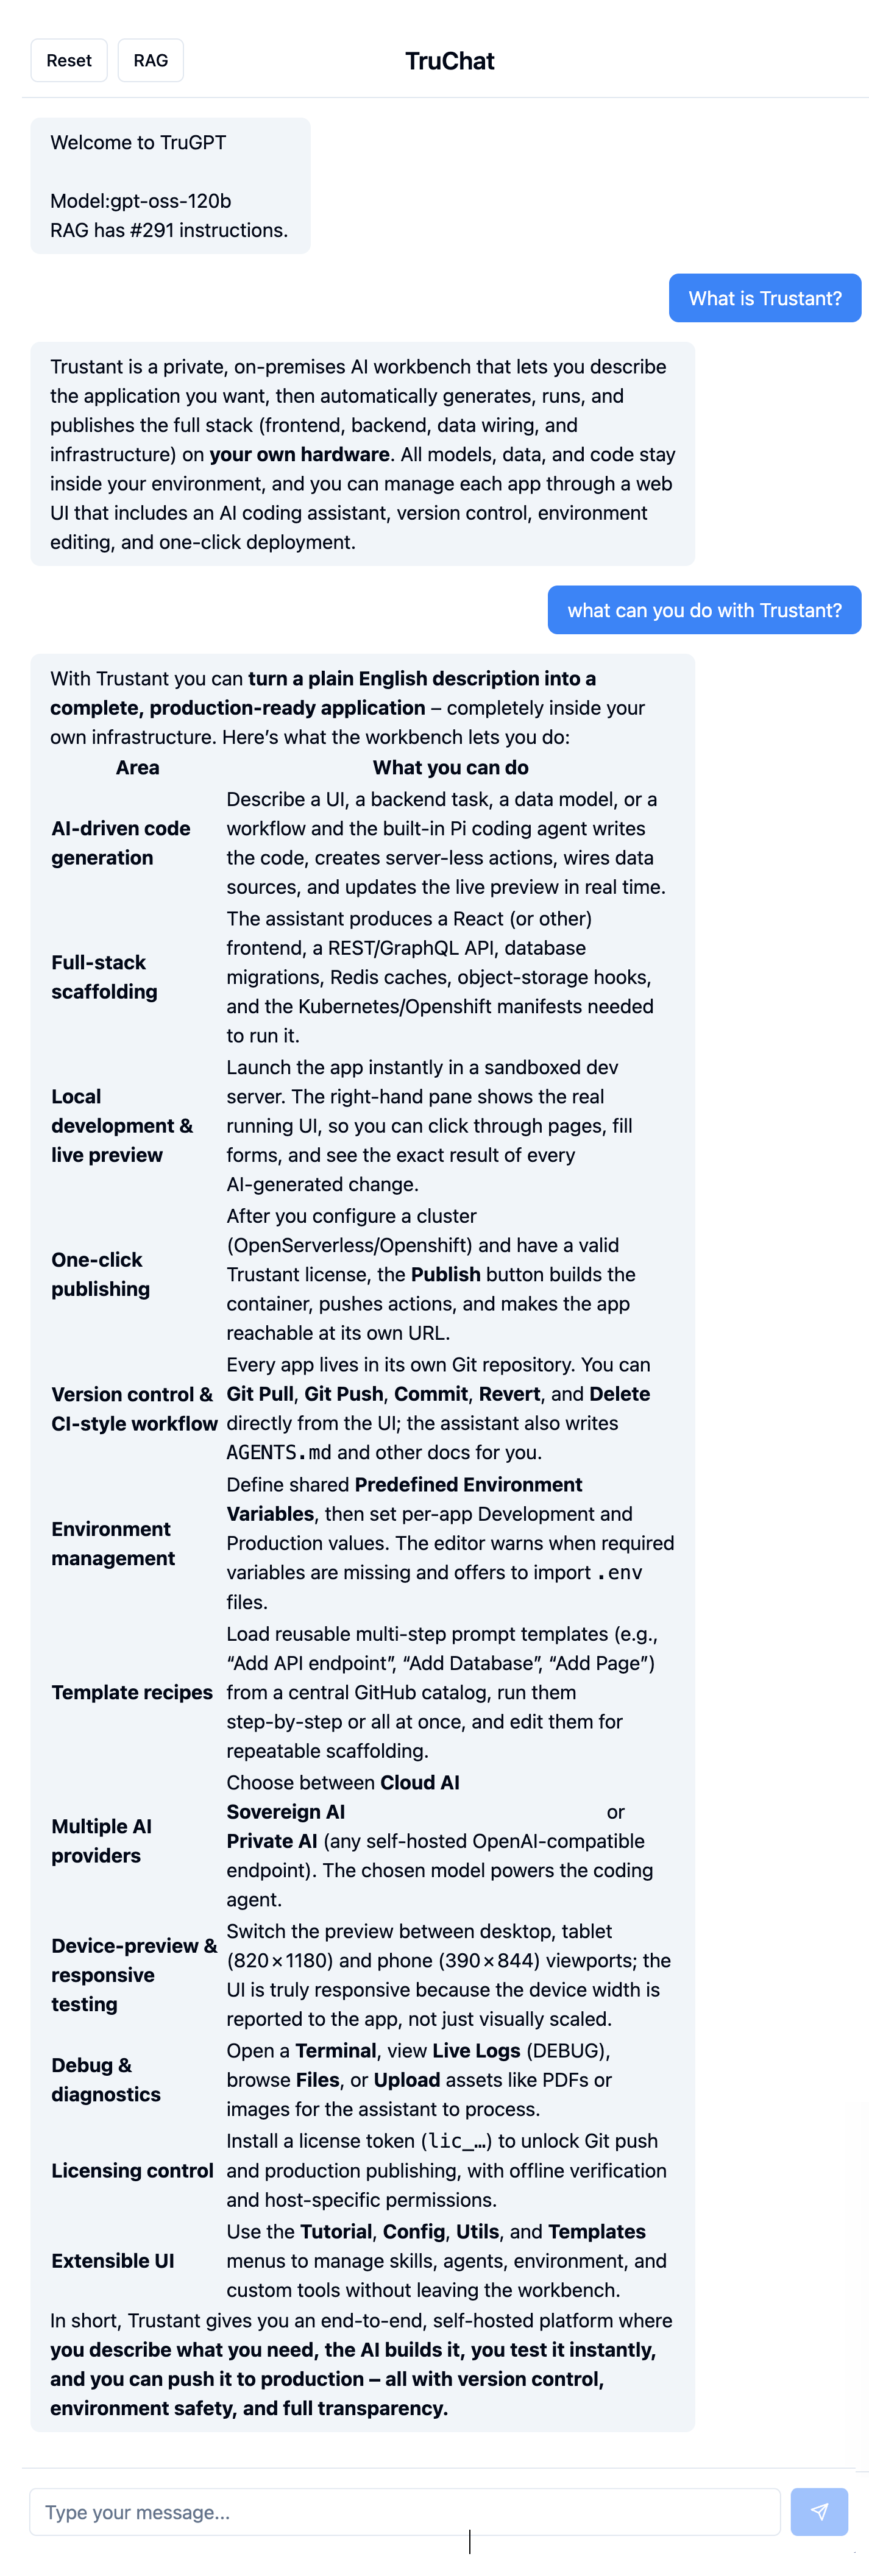
When you are happy, commit your work. The application lives in its own Git repository. See AI Agents for everything the agent can do.
Publishing needs a server
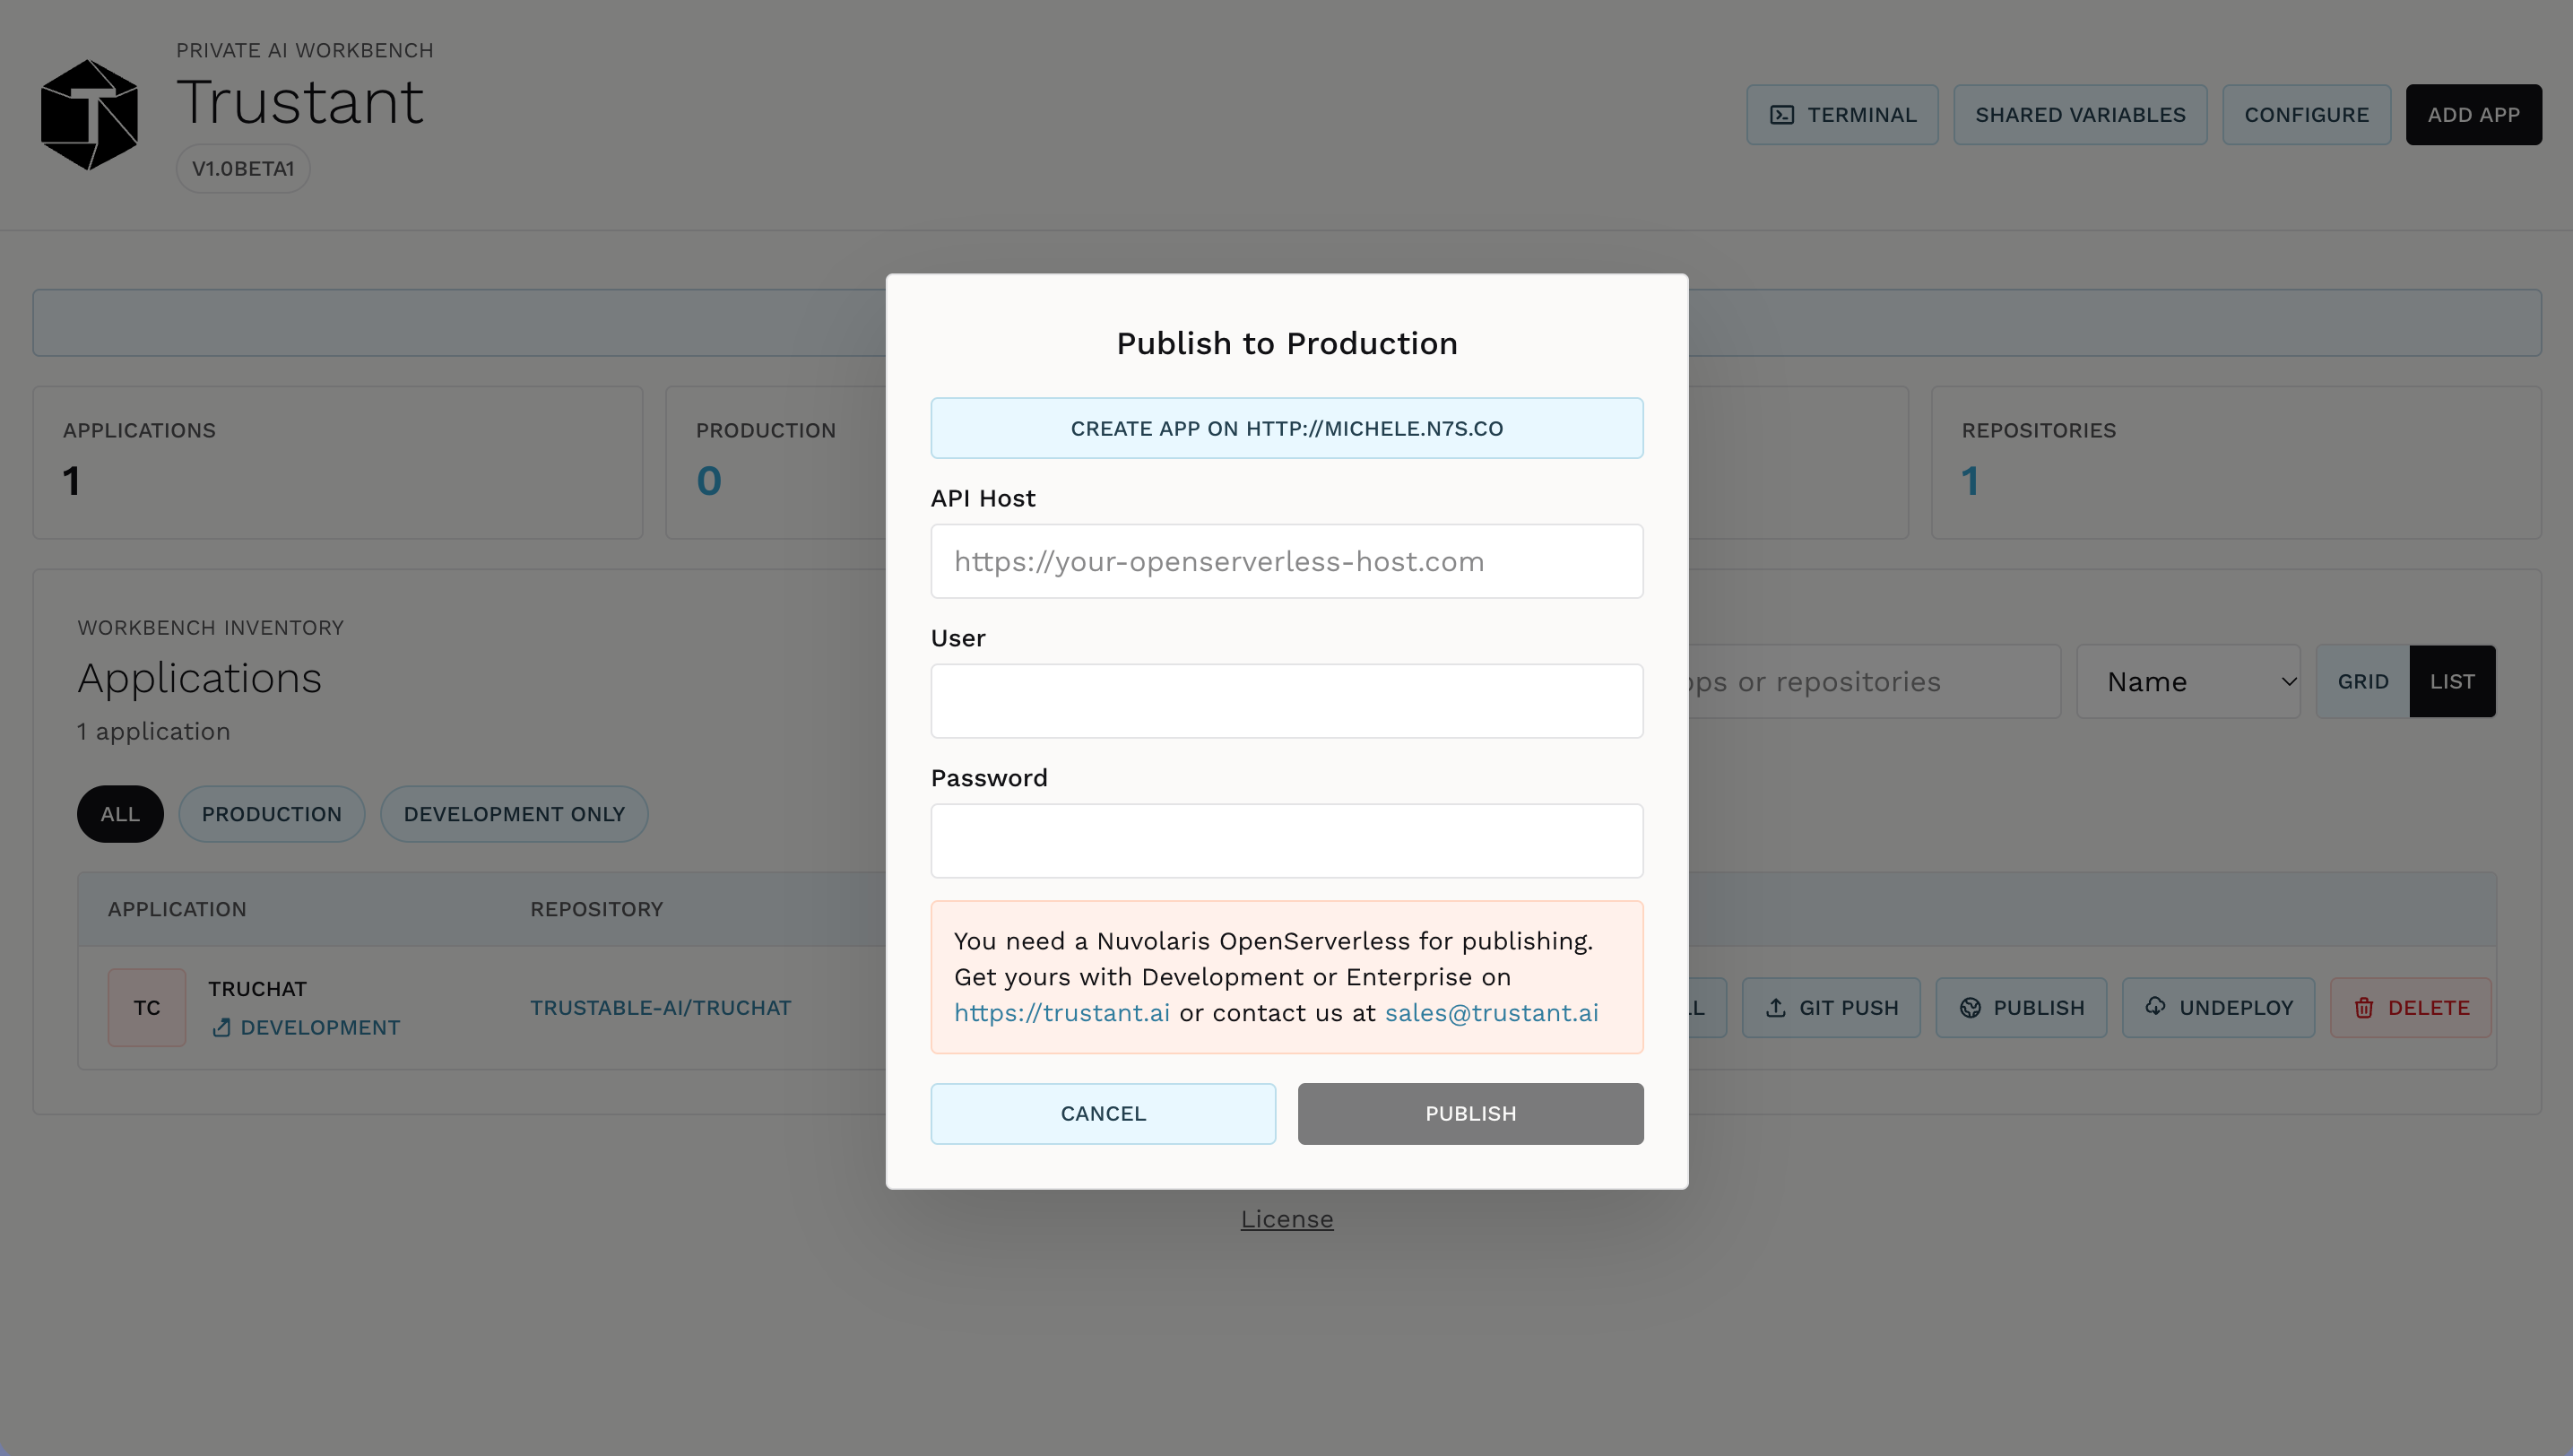
So far, everything runs on your PC. To put the application in production, click PUBLISH on your application.
Without a server, the dialog tells you what is missing: a Nuvolaris OpenServerless installation to publish to.
Download Trustant Serverless
Go back to the download page. The right column is Nuvolaris OpenServerless, for Ubuntu Linux on Intel or ARM. The same page shows your server’s name, and the addresses your applications will get.
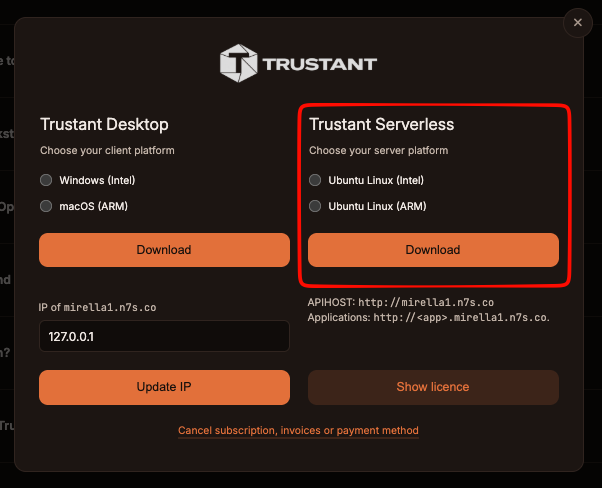
Download the package to your PC, then upload it to your server. We recommend placing it in
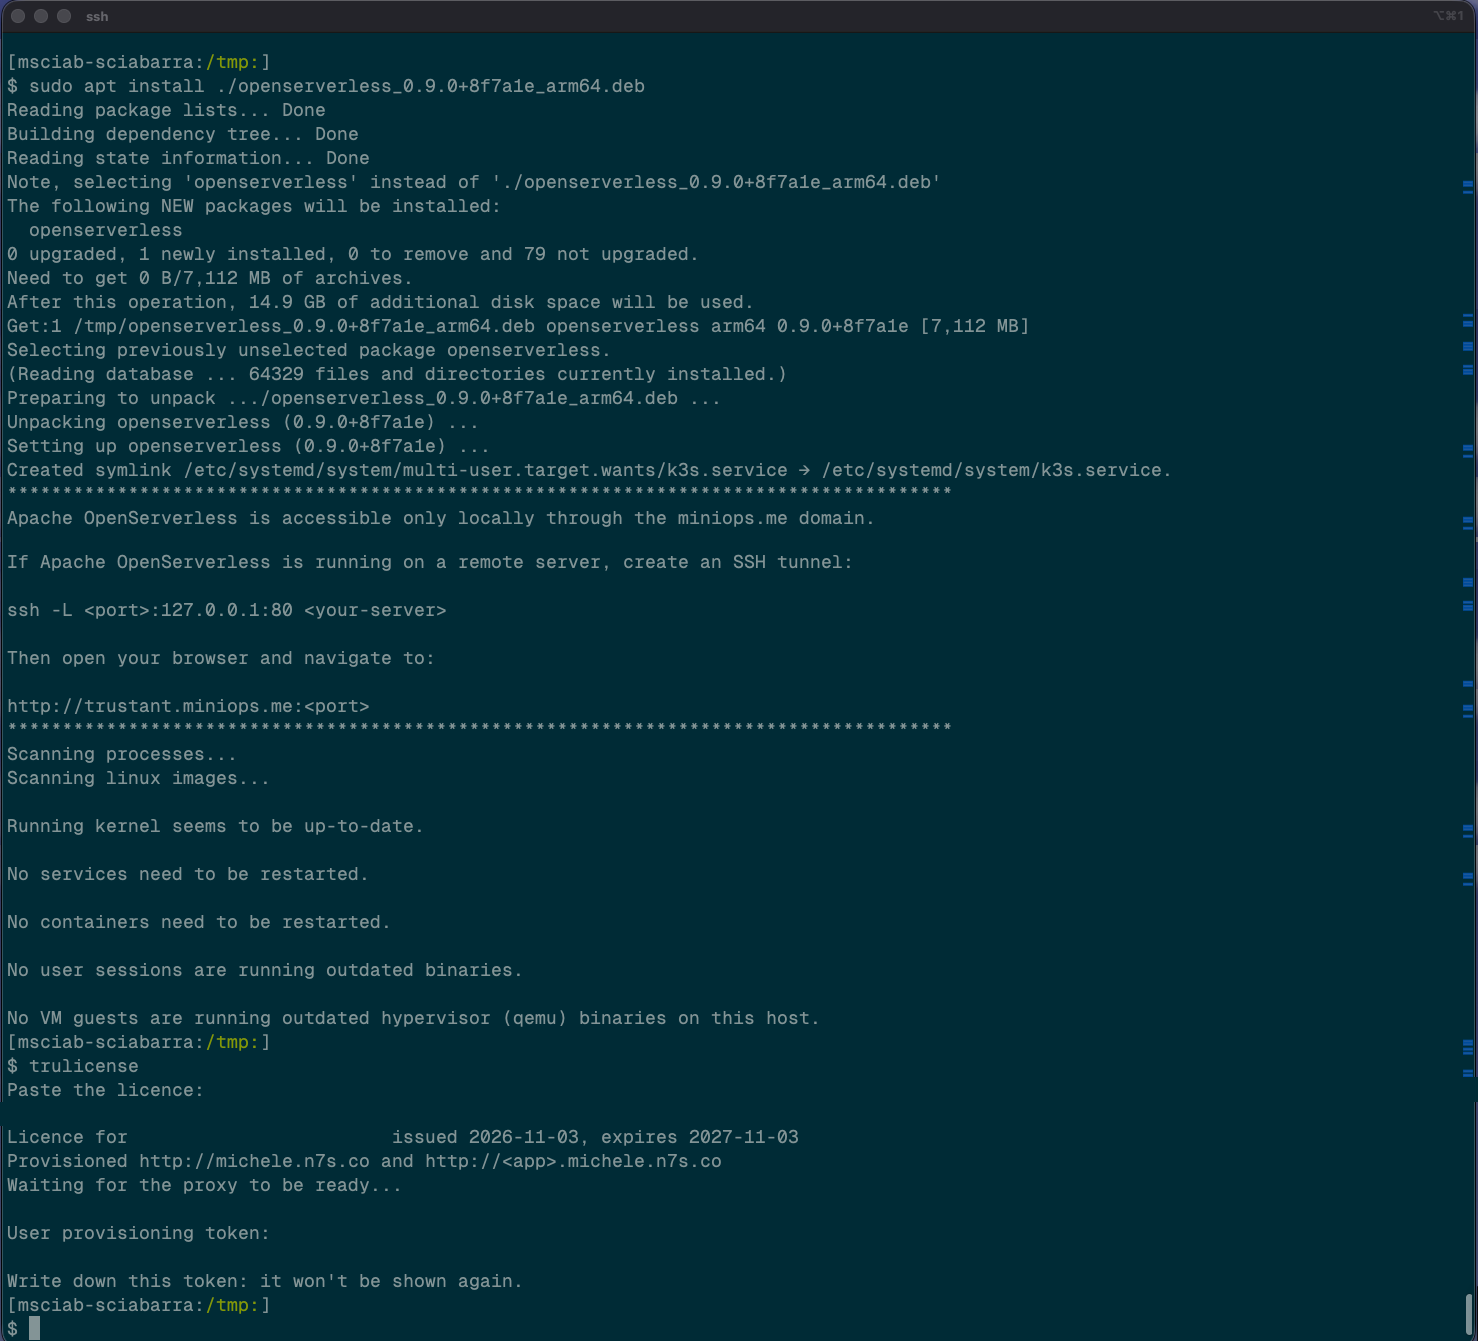
/tmp. The package is over 6 GB, and it needs about 15 GB of disk space once installed.
scp trustant-serverless_<version>_<arch>.deb <user>@<your-server>:/tmp/
Then, on your server, install it:
sudo apt install /tmp/trustant-serverless_<version>_<arch>.deb
Then activate it with your licence, which the download page shows under Show licence:
trulicense
Paste the licence when asked. The command sets up your server’s addresses, then prints a provisioning token. Write it down, because it is not shown again.
Publish
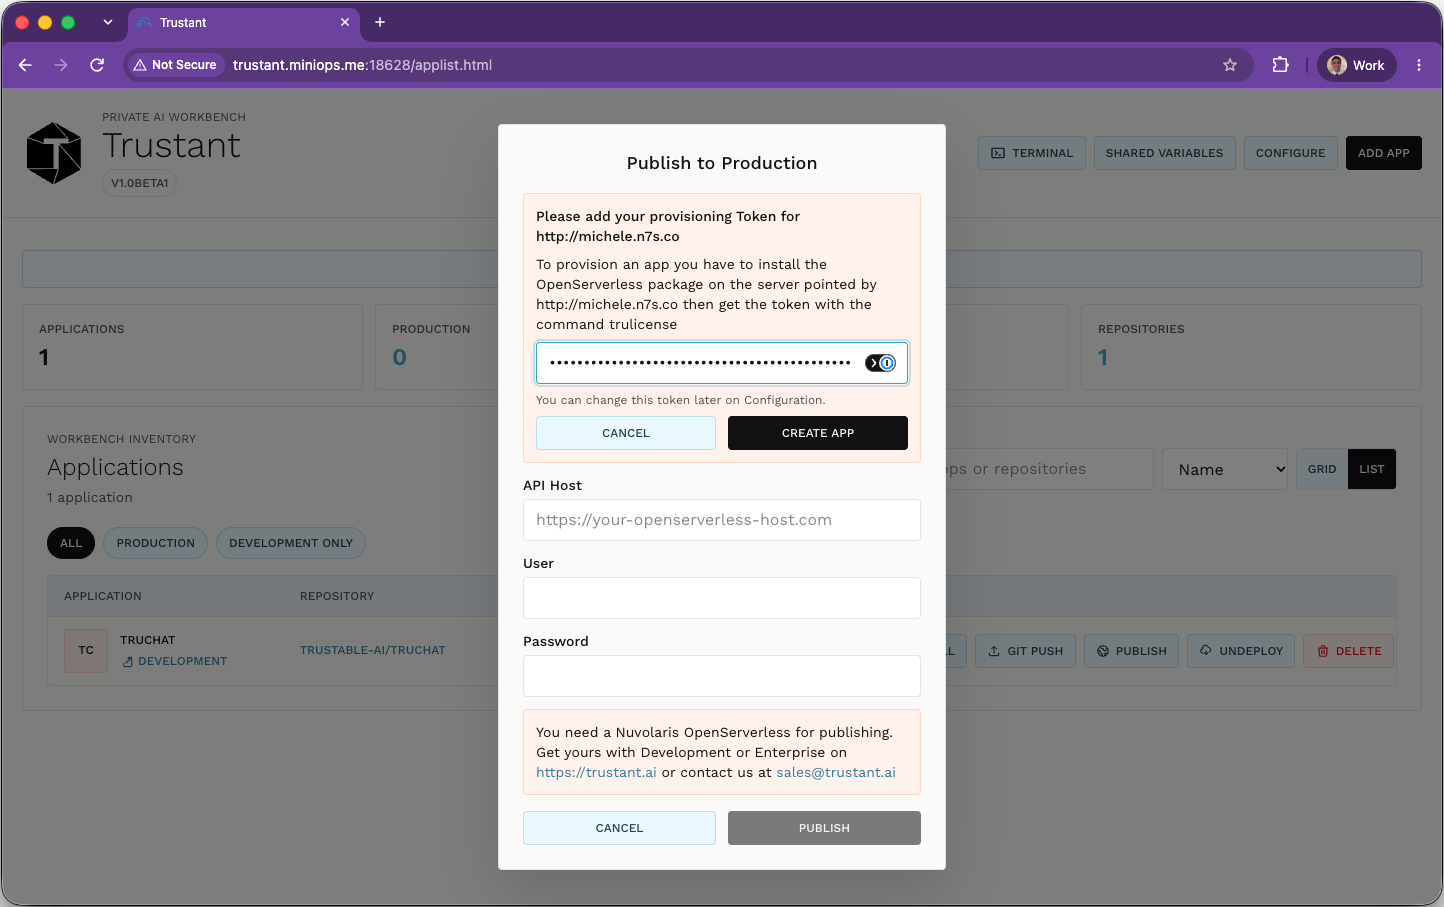
Back on your PC, click PUBLISH again. Paste the provisioning token and click CREATE APP. This creates your application on the server. You can change the token later in the configuration.
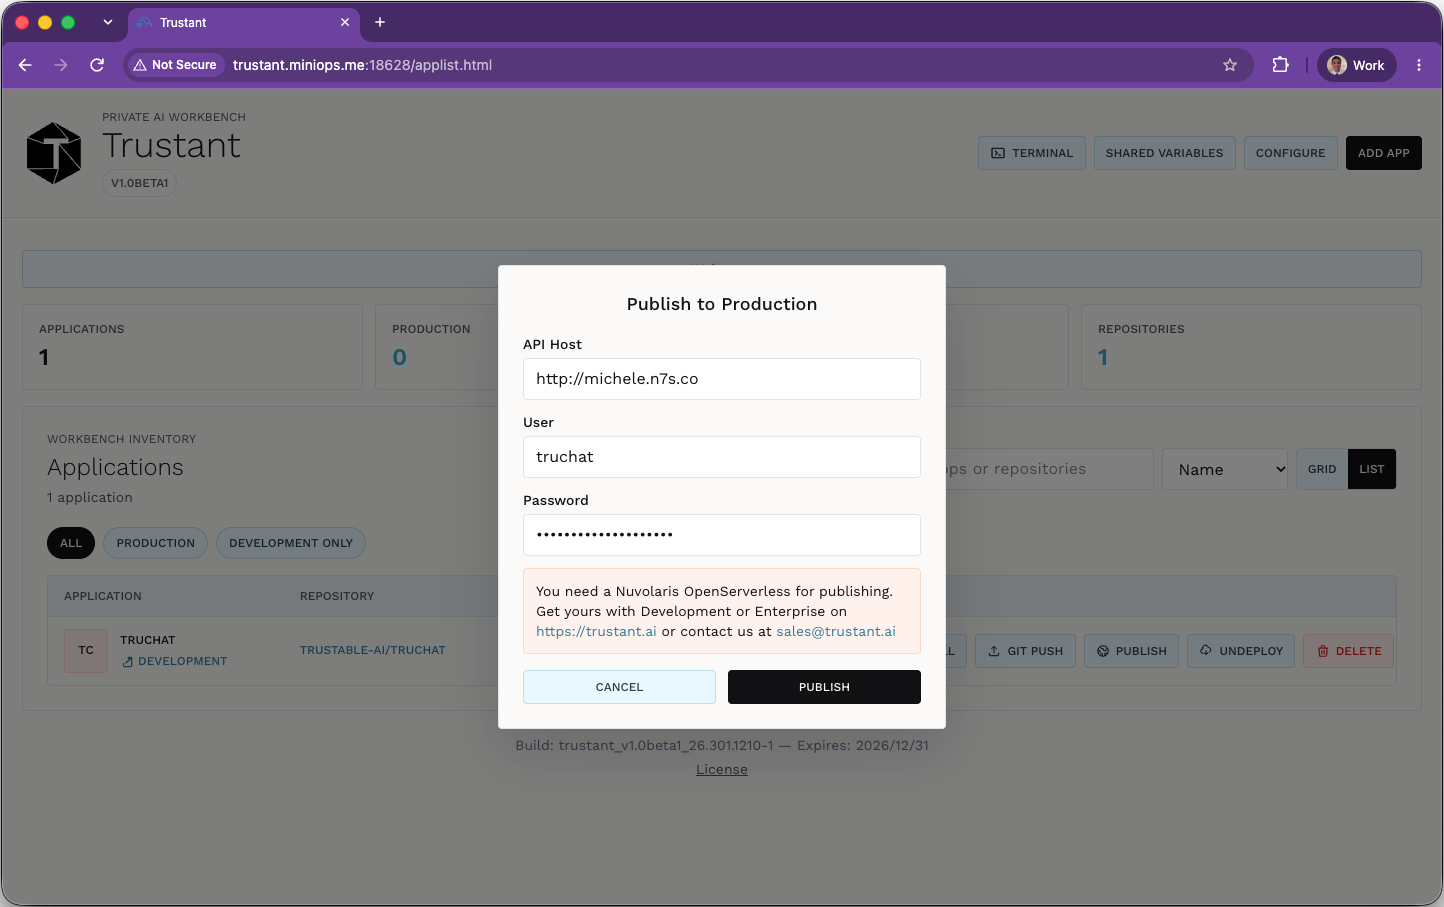
The API host, user and password are now filled in for you. Click PUBLISH.
Your application is live
Your application now runs on your server, at its own address:
http://<app>.<your-server>. Anyone who can reach that server can use it.
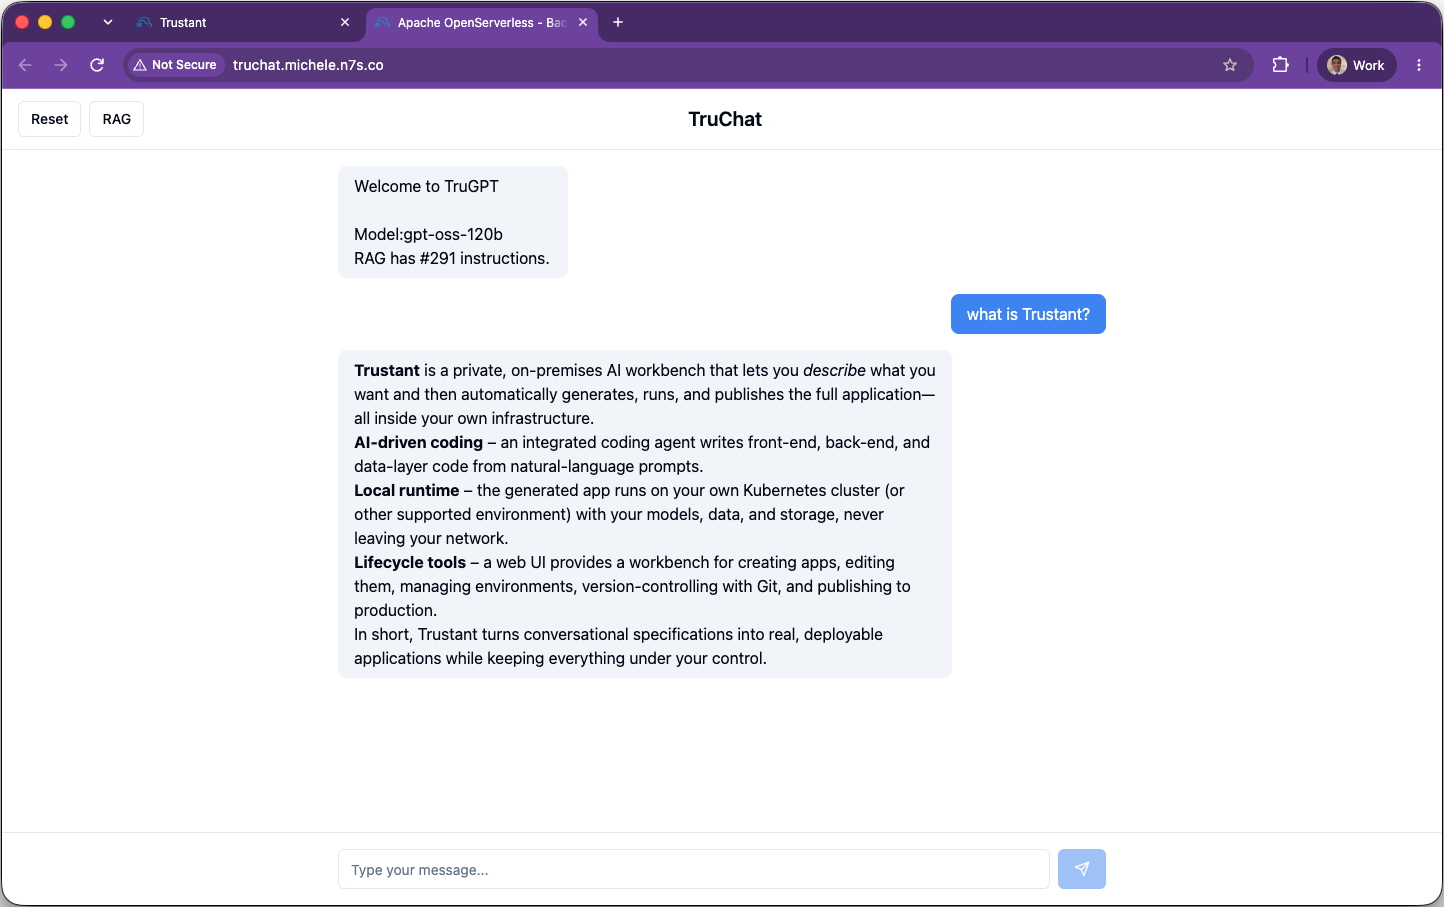
To keep prompts and data on your own infrastructure as well, choose Private AI.
The documentation
Read in order, these pages take you from a blank installation to a published application.
- Setup — choosing the AI provider that powers the assistant. This is the one mandatory step: Cloud AI, or a Private AI endpoint of your own.
- Configuration — the workbench-wide settings: models, the coding model, your license, the template repository, shared environment values, Git and GitHub.
- App List — the home screen. Creating applications from starters or from the catalog, and every per-application action: edit, environment, pull, push, publish, undeploy, delete.
- Editing — the workbench: the toolbar, the Config and Utils menus, committing, the device preview, redeploying.
- AI Agents — the AI assistant that writes your application, its agents, models and sessions.
- Templates — reusable multi-step prompts: running them, editing them, and creating your own from a conversation.